Why Your Percolator Coffee Maker Might Be the Game-Changer Your Morning Routine Desperately Needs
Contents
- Why Your Percolator Coffee Maker Might Be the Game-Changer Your Morning Routine Desperately Needs
- The Percolator Magic: How This Beast Actually Works
- Stovetop vs Electric: Which Percolator Type Suits Your Lifestyle?
- Percolator vs Drip Coffee: The Ultimate Flavor Showdown
- The Percolator Pros and Cons: My Brutally Honest Assessment
- Master Your Stovetop Percolator: My Step-by-Step Method
Percolator coffee maker brewing has me absolutely fired up, and I’m about to tell you exactly why this old-school method could revolutionize your entire coffee experience.
You know that feeling when your drip coffee tastes like watered-down disappointment? When your expensive pod machine produces something that barely qualifies as coffee? When you’re standing in your kitchen at 6 AM, wondering why you can’t just make a proper cup of joe that actually wakes you up?
I’ve been there. I’ve wrestled with weak coffee, inconsistent flavors, and machines that promise the world but deliver dishwater. Then I rediscovered the percolator, and everything changed.

The Percolator Magic: How This Beast Actually Works
Let me break down why percolators create such phenomenally strong coffee.
Here’s the beautiful simplicity:
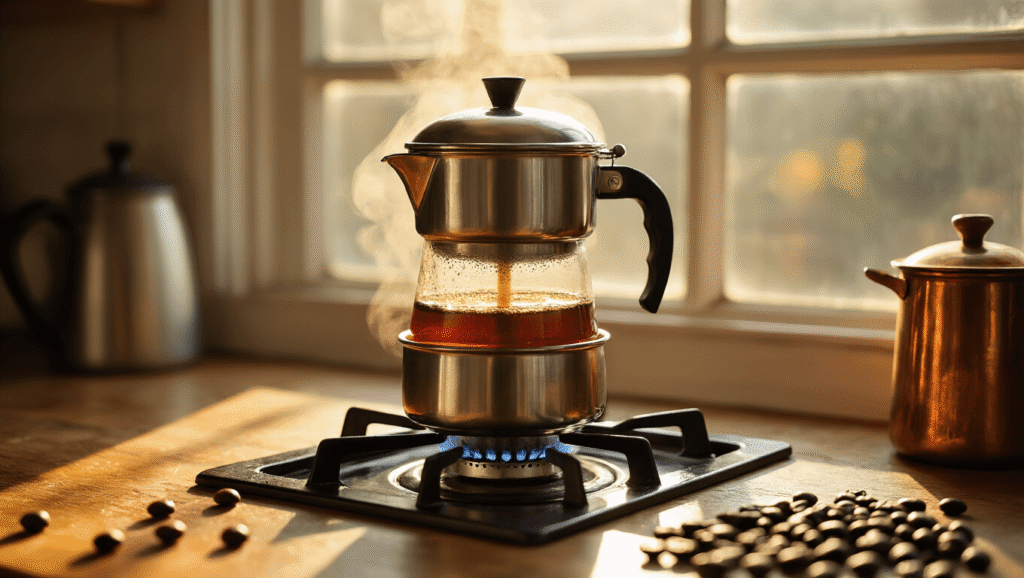
- Water sits in the bottom chamber like a patient soldier
- Heat forces that water up through a central tube (think coffee elevator)
- Hot water cascades over your grounds in a perforated basket
- Brewed coffee drops back down to join the party
- This cycle repeats until you’ve got liquid dynamite
The genius lies in the repetition. Your coffee gets stronger with each cycle because the same liquid keeps passing through those grounds. It’s like doing bicep curls for your coffee – more reps, more strength.
But here’s the catch: leave it too long, and you’ll over-extract those grounds into bitter oblivion. Timing is everything with percolator coffee makers.

Stovetop vs Electric: Which Percolator Type Suits Your Lifestyle?
Stovetop Percolators: The Rugged Champion
I absolutely love my stovetop percolator for its pure simplicity.
Why stovetop wins:
- Works anywhere you can make fire (camping, power outages, apocalypse scenarios)
- Usually stainless steel construction that survives nuclear winters
- No electrical components to break down
- Perfect for outdoor adventures
The reality check:
- You need to babysit the brewing process
- Temperature control requires actual skill
- Easy to burn your coffee if you get distracted
Electric Percolators: The Convenient Powerhouse
Electric models bring percolator brewing into the modern age without losing that bold flavor punch.
Electric advantages:
- Automatic temperature control (no more burnt coffee disasters)
- “Keep warm” modes that prevent over-extraction
- Set-it-and-almost-forget-it convenience
- Consistent results every single time
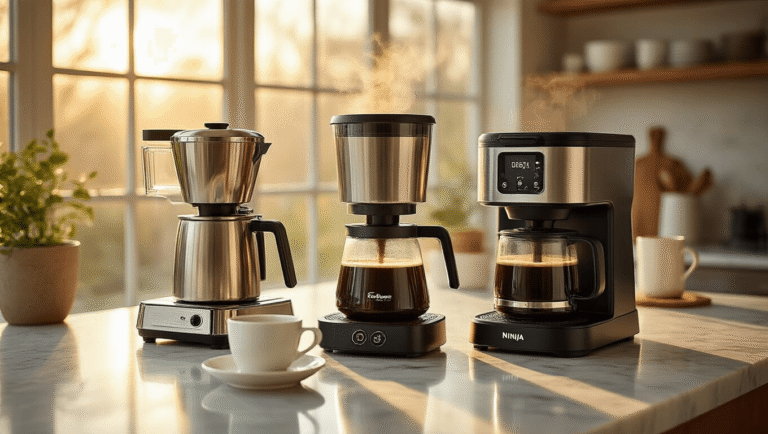
I recommend electric percolators for daily home use, especially if you’re not a morning person who can focus on brewing details.

Percolator vs Drip Coffee: The Ultimate Flavor Showdown
After brewing both methods for years, here’s my honest take on the differences.
Percolator Coffee Character:
- Strength: Absolutely knockout powerful
- Body: Rich, full-bodied, almost chewy texture
- Flavor notes: Bold, intense, sometimes aggressive
- Mouthfeel: Heavy due to oils and particles (no paper filter)
Drip Coffee Character:
- Strength: Mild to moderate intensity
- Body: Clean, smooth, lighter texture
- Flavor notes: Balanced, nuanced, refined
- Mouthfeel: Crisp and clean thanks to paper filtration
Bottom line: If you want coffee that slaps you awake and demands respect, choose percolator. If you prefer genteel morning sips with subtle flavor notes, stick with drip.

The Percolator Pros and Cons: My Brutally Honest Assessment
Why I Love Percolators:
- Strength that actually works – This coffee will wake the dead
- Bulletproof simplicity – No complex parts to break or replace
- Camping superhero – Works perfectly over campfires
- Nostalgia factor – There’s something deeply satisfying about traditional brewing
- No ongoing costs – No filters, pods, or cartridges to buy forever
Why Percolators Drive Me Crazy Sometimes:
- Over-extraction happens fast – Miss your timing, taste the bitterness
- Temperature inconsistency – Especially with basic stovetop models
- Harsh flavors possible – Not everyone loves the intensity
- Requires attention – You can’t completely ignore the brewing process

Master Your Stovetop Percolator: My Step-by-Step Method
I’ve perfected this technique through countless morning experiments and camping trips.
Step 1: Water Prep
Fill the bottom chamber to the marked line. Never exceed this – you’ll flood your coffee basket and create a watery mess.
Step 2: Coffee Ground Selection
Use medium-coarse coffee grounds – coarser than drip, finer than French press. Don’t pack the grounds tight; let water flow freely through them.
Step 3: Assembly
Insert the tube and basket firmly. Secure that lid – loose lids create weak coffee and kitchen disasters.
Step 4: Heat Management
This post may contain affiliate links. Please see my disclosure policy for details.