Key Info
Contents
- Key Info
- Equipment Needed
- Ingredients
- Why Your Coffee Strength Matters More Than You Think
- Method
- 1. Brew your coffee like you mean it
- 2. Make your simple syrup (or take the shortcut)
- 3. Mix everything together
- 4. Cool completely before freezing
- 5. Pour into your shallow pan
- 6. Set a timer and start raking (45-60 minutes)
- 7. Keep raking every 30-45 minutes
- 8. Watch the texture transform
- 9. Final fluff before serving
- 10. Serve immediately and properly
- Crucial Tips
Prep time: 15 minutes
Freezing time: 3-4 hours (mostly hands-off)
Total time: 4 hours
Servings: 4-6
Difficulty level: Beginner
Dietary tags: Vegetarian, easily vegan, dairy-free (without cream), gluten-free
Equipment Needed
Essential:
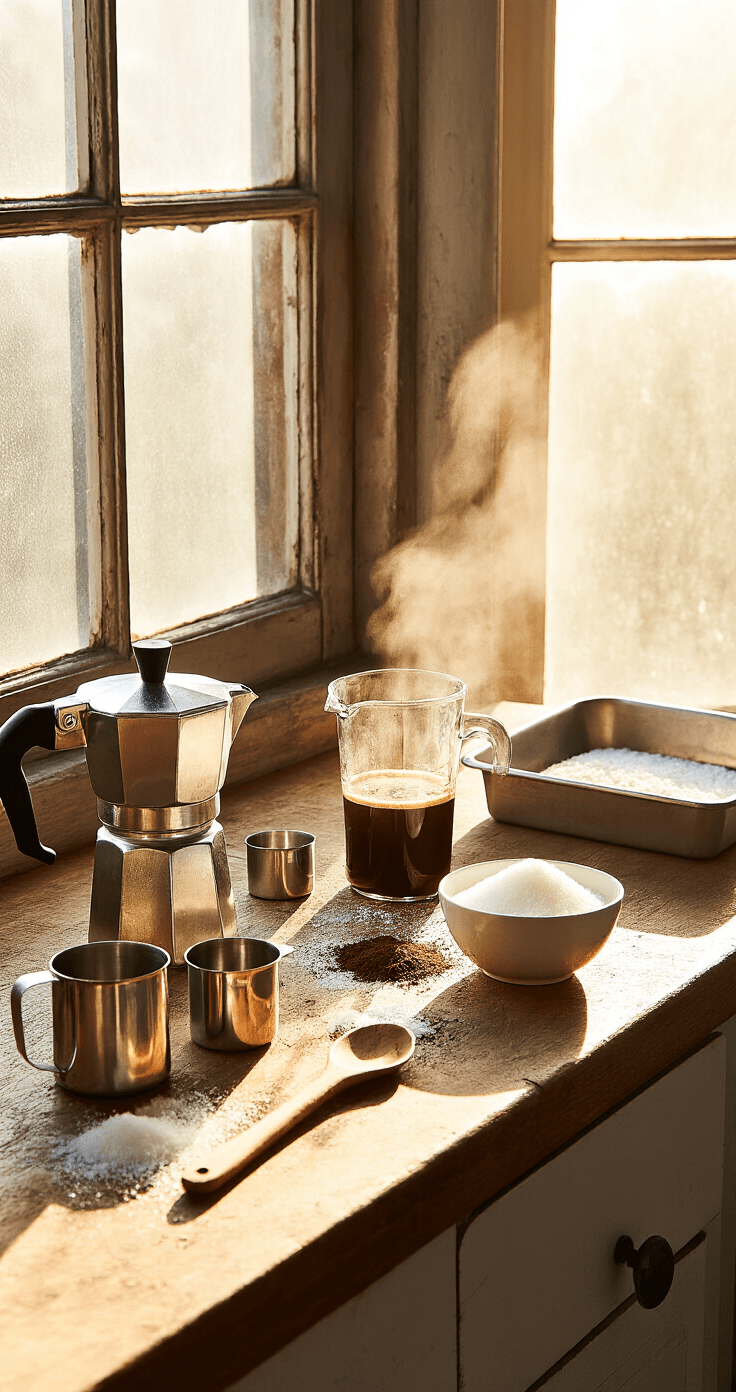
- Coffee maker (espresso machine, moka pot, French press, or even quality instant)
- 9×13 inch shallow metal baking pan
- Fork (yes, really—that’s your “machine”)
- Medium saucepan (for simple syrup)
- Mixing bowl
Optional but helpful:
- Electric hand mixer (for whipped cream)
- Fine mesh strainer (to catch stray grounds)
Simple alternatives:
- Skip the saucepan—dissolve sugar directly in hot coffee
- Use any flat-bottomed freezer-safe container (metal freezes fastest)
- Hand whisk instead of electric mixer
- Store-bought whipped cream works fine
Ingredients
For the granita base:
- 3 cups (720 ml) very strong brewed coffee or espresso
- ¾ to 1 cup (150-200 g) granulated sugar
- Pinch of fine sea salt (enhances everything)
Optional flavor additions:
- 1-2 teaspoons (5-10 ml) coffee liqueur (Kahlúa or Tia Maria)
- ½ teaspoon (2 ml) vanilla extract
- 2-3 tablespoons (30-45 ml) fresh lemon juice (Sicilian-style twist)
For traditional whipped cream topping:
- 1½ cups (360 ml) cold heavy cream
- ¼ cup (30 g) confectioners’ sugar
- 2 tablespoons (30 ml) crème fraîche (for stability and tang)
- 1 teaspoon (5 ml) vanilla extract
Garnish options:
- Shaved chocolate or cocoa powder
- Lemon zest
- Fresh mint leaves
- Crushed biscotti
Why Your Coffee Strength Matters More Than You Think
Here’s where most people screw this up.
You cannot use regular morning coffee and expect restaurant-quality results. Freezing dulls flavor by about 30%. What tastes perfectly balanced in your cup will taste like brown ice water once frozen.
Brew your coffee twice as strong as you’d normally drink it. If you use espresso, you’re golden—6 to 10 shots will give you the punch you need. Moka pot coffee works beautifully. Even strong French press does the job. In a pinch, quality instant espresso powder dissolved in less water than the package suggests will save you (don’t tell the purists I said that).
Method
1. Brew your coffee like you mean it
Make 3 cups of coffee so strong it would make your morning cup taste like tea. Use dark roast beans for deeper flavor. Espresso is traditional, but any method works if you increase the coffee-to-water ratio significantly.
2. Make your simple syrup (or take the shortcut)
Combine 1 cup sugar with 1 cup water in your saucepan. Heat over medium, stirring occasionally, until sugar completely dissolves (about 3 minutes). Don’t boil it—just warm enough to melt the sugar. Let it cool to room temperature.
Shortcut: Add sugar directly to your hot coffee and stir until dissolved—this works perfectly fine and saves a pan.
3. Mix everything together
Combine your cooled coffee with simple syrup (start with ¾ cup and taste). Add your pinch of salt. Stir in vanilla or coffee liqueur if using.
Critical tasting moment: The mixture should taste slightly too sweet and slightly too intense—remember, freezing will mute both qualities. Adjust now or forever hold your peace.
4. Cool completely before freezing
This is non-negotiable. Let your mixture reach room temperature before it goes anywhere near the freezer. Hot liquid in the freezer creates huge, chunky ice crystals instead of the fine, snow-like texture you want. It also messes with everything else in your freezer.
Temperature check: Room temperature (about 68-70°F / 20-21°C) is what you’re after.
5. Pour into your shallow pan
Use a 9×13 inch metal baking pan if you have one—metal conducts cold faster than glass. Pour your coffee mixture in. The shallower the layer, the faster and more evenly it freezes. Place the pan flat in the coldest part of your freezer (usually the back).
6. Set a timer and start raking (45-60 minutes)
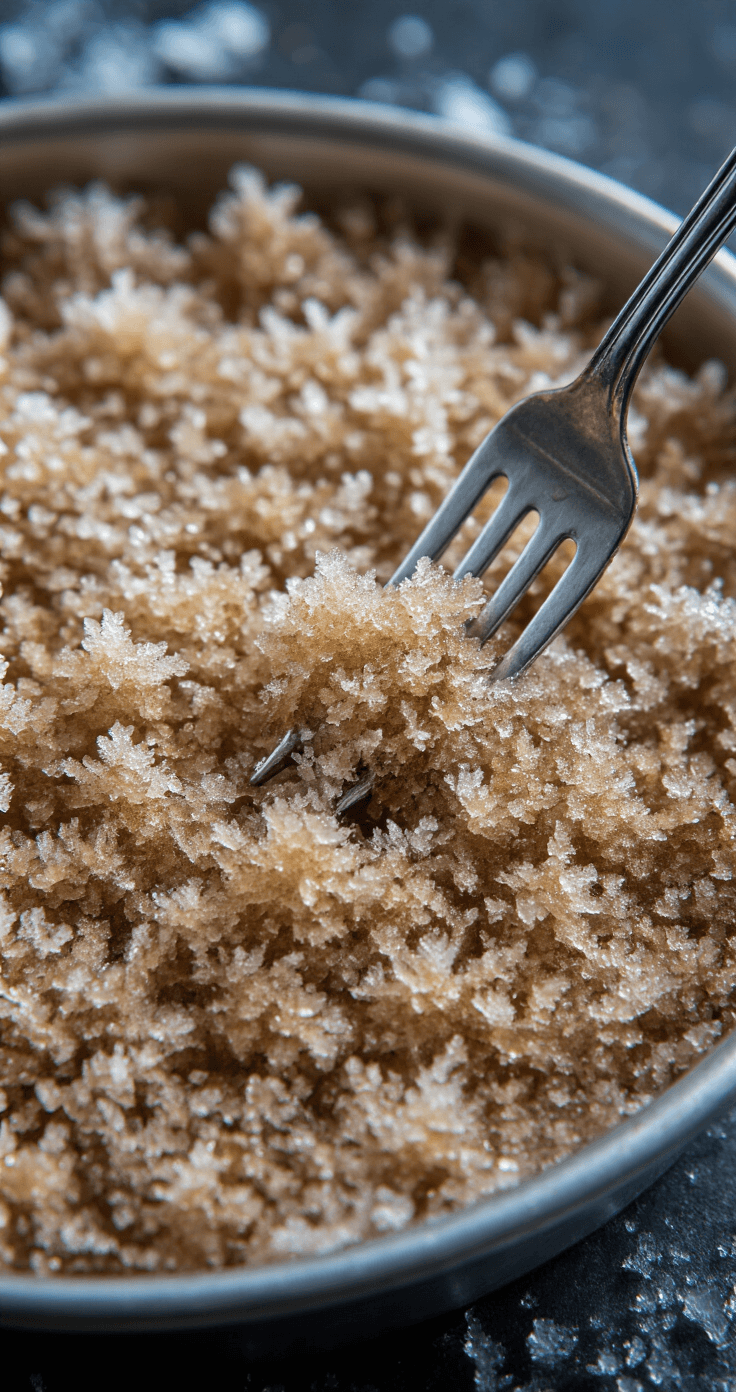
Here’s where the magic happens. After 45 minutes to an hour, check your pan. You should see ice crystals forming around the edges while the center stays liquid. Grab your fork and drag it through the mixture, scraping frozen bits from the sides toward the middle. You’re breaking up ice crystals before they become an Arctic glacier.
Visual cue: You want to see slushy edges, liquid center—like a partially frozen margarita.
7. Keep raking every 30-45 minutes
Return the pan to the freezer. Set another timer for 30-45 minutes. When it goes off, rake again with your fork, scraping and stirring to break up all the frozen sections. Repeat this process 4-6 times over the next 2-3 hours. I know it sounds tedious. But each raking takes literally 30 seconds, and this is what creates those perfect, fluffy ice crystals instead of a coffee ice brick.
Temperature reminder: Keep your freezer at 0°F / -18°C for best results.
8. Watch the texture transform
First raking: Icy edges, mostly liquid. Second raking: Noticeably slushy throughout. Third raking: More solid than liquid, crystals forming. Fourth raking: Almost all crystallized, just a bit of liquid at the bottom. Final raking: Completely granular, fluffy, and dry—like fresh snow that’s been raked into perfect powder.
Visual cue for doneness: Your fork should glide through easily, fluffing up light, separate crystals that don’t clump together.
9. Final fluff before serving
Just before you’re ready to serve, take the pan out and give it one last aggressive scraping with your fork. Really dig in and break up any crystals that might have compacted. You want it light and fluffy, not dense.
10. Serve immediately and properly
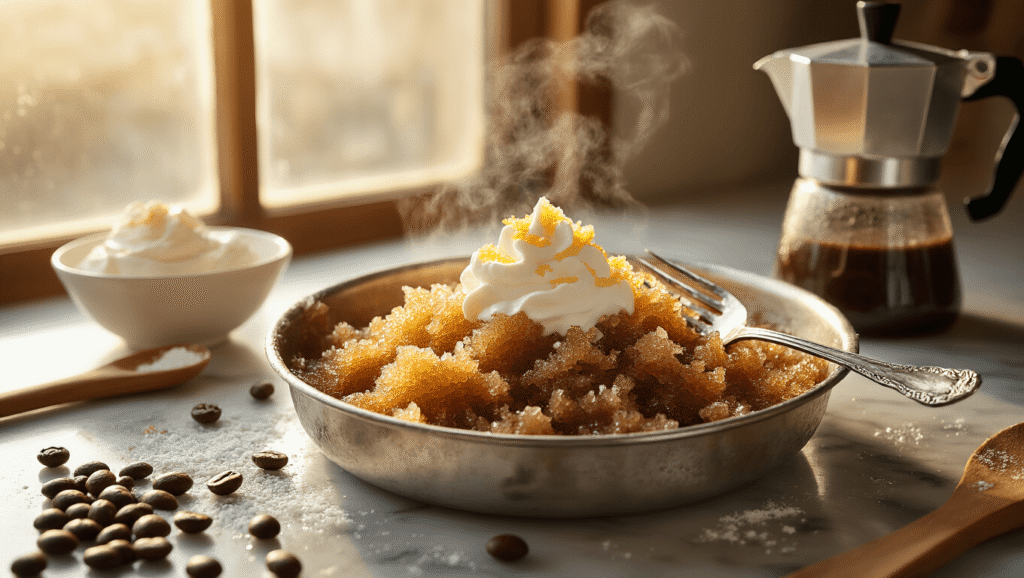
Chill your serving glasses in advance—this keeps the granita from melting too fast. Spoon the granita into bowls or stemmed glasses. The traditional Sicilian way: mound the granita generously, then crown it with a massive dollop of barely sweetened whipped cream. You’re meant to eat a bit of cream with every spoonful of coffee ice. Don’t mix them—the contrast of temperatures and textures is the whole point.
Crucial Tips
- Coffee strength is everything: Weak coffee = bland, disappointing granita. Brew it strong enough that you
This post may contain affiliate links. Please see my disclosure policy for details.