Mocha Popsicles: Rich Coffee-Chocolate Frozen Treats
Contents
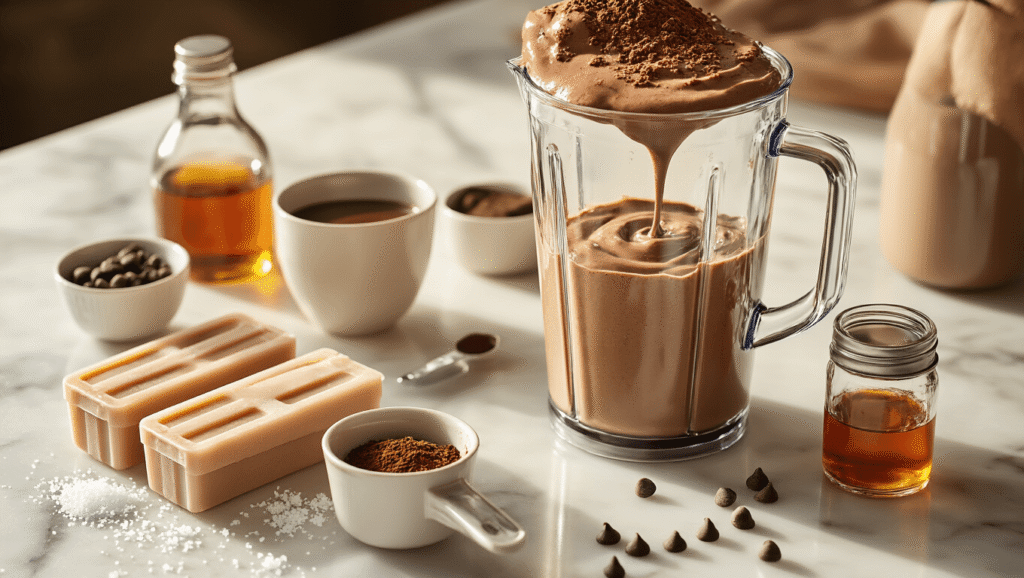
Mocha popsicles are exactly what they sound like—frozen coffee and chocolate on a stick that’ll save you on sweltering afternoons while giving you a proper caffeine hit.
No sad, watery ice lollies here. Just creamy, intense mocha flavor that tastes like your favorite café drink decided to become summer dessert.
KEY INFO
Prep time: 10 minutes
Cook time: 0 minutes (5-10 if you fancy a cooked base)
Total time: 4-8 hours (including freezing)
Servings: 6-8 popsicles
Difficulty level: Easy
Dietary tags: Vegetarian, easily dairy-free/vegan, gluten-free, keto-adaptable
Why You’ll Actually Want to Make These
Ever stand in front of your freezer at 3 PM, sweating, desperate for something cold that isn’t just frozen water with a vague fruit memory?
That’s where these come in.
I started making mocha popsicles three summers ago when I realized I was spending a fortune on iced coffees and still coming home to a hot kitchen.
These solve multiple problems at once: dessert, caffeine, and that “I need something NOW” summer desperation.
They’re ridiculously simple—basically dump everything in a blender and freeze—but they taste like you’ve been to culinary school.
The coffee keeps you going. The chocolate makes you happy. The frozen bit stops you melting into a puddle.
Perfect trinity, really.
EQUIPMENT NEEDED
Essential:
- Popsicle molds (6-8 capacity)
- Popsicle sticks (wooden or reusable)
- Blender or food processor
- Measuring cups and spoons
- Freezer space
Optional but useful:
- Small saucepan (for cooked versions)
- Pitcher with spout (makes pouring cleaner)
- Microwave-safe bowl (for melting chocolate)
- Baking sheet with parchment paper (for dipped versions)
No molds? No problem:
Use small paper cups, silicone muffin tins, or even ice cube trays. Insert sticks when they’re partially frozen and they’ll stand up just fine.
No blender?
Whisk everything by hand. You’ll get a bit of an arm workout, but it works—especially if you warm the mixture slightly to dissolve the cocoa properly.
INGREDIENTS
Base (makes 6-8 popsicles):
Liquid:
- 1½ cups (360ml) strong brewed coffee, chilled completely
- 1 cup (240ml) whole milk OR full-fat coconut milk
- ½ cup (120ml) heavy cream OR more coconut milk for dairy-free
Chocolate:
- ⅓ cup (30g) unsweetened cocoa powder
- 3 tablespoons (45ml) chocolate syrup OR 2oz dark chocolate, melted
Sweetener:
- ⅓ cup (65g) granulated sugar OR ¼ cup (80ml) sweetened condensed milk OR 3 tablespoons monk fruit sweetener (for keto)
Flavor boosters:
- 1 teaspoon vanilla extract
- ⅛ teaspoon fine sea salt
- Optional: ¼ teaspoon ground cinnamon
Mix-ins (optional):
- ⅓ cup (60g) mini chocolate chips
- 2 tablespoons almond butter (for keto versions)
For chocolate-dipped finish (optional):
- 6oz (170g) dark chocolate
- 1 tablespoon coconut oil
- Toppings: cocoa nibs, sprinkles, or chopped nuts
Substitution notes:
(Because life’s messy and we rarely have exactly what recipes demand)
- No cold brew? Regular strong coffee works fine—just let it cool completely or you’ll have melted molds
- Dairy-free? Full-fat coconut milk is your hero; don’t use the light stuff or you’ll get icy sadness
- Less caffeine? Use half decaf, half regular
- No cocoa powder? Use all chocolate syrup, but reduce other sweeteners accordingly
METHOD
Step 1: Sort your coffee situation
Brew strong coffee—stronger than you’d normally drink—and chill it completely. Cold brew works brilliantly here because it’s smoother and less acidic. Lukewarm coffee will mess with your freezing time and might warp cheaper molds.
Step 2: Blend the base
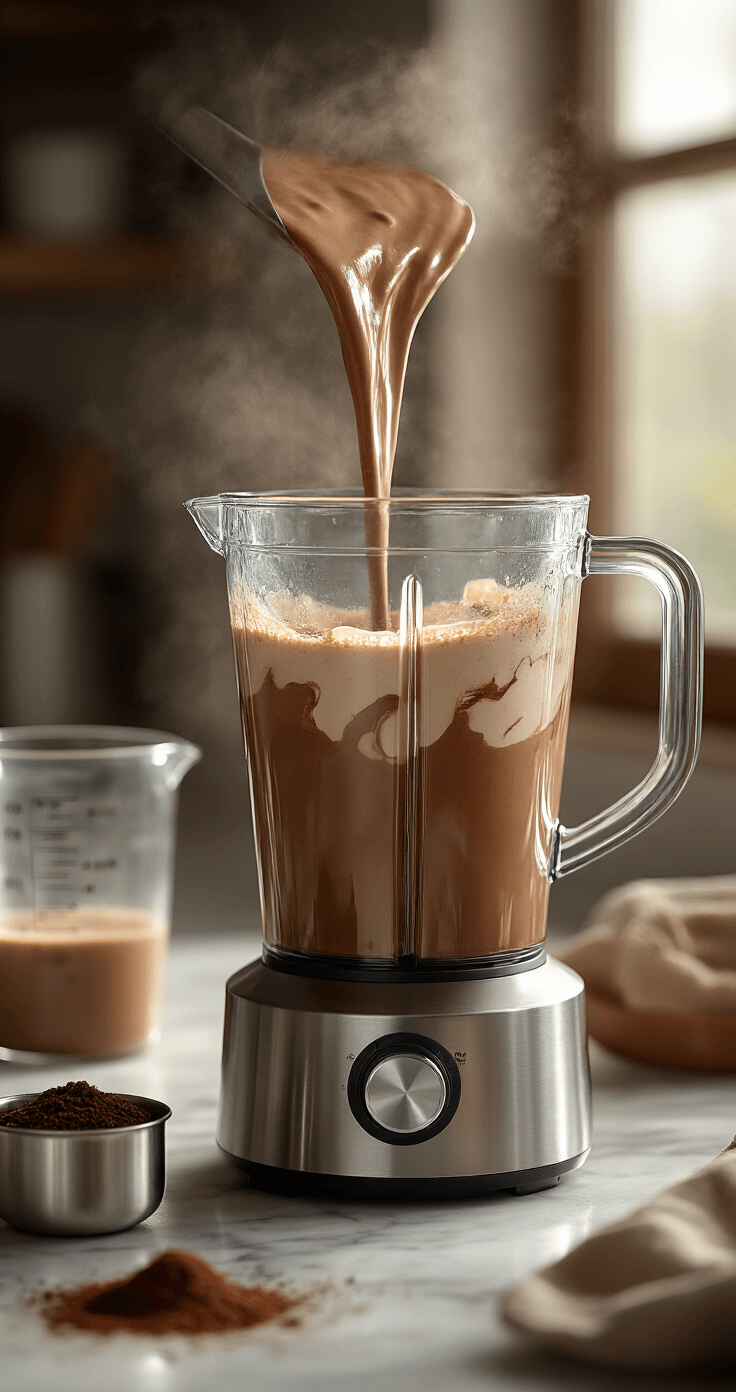
Chuck coffee, milk, cream (or all coconut milk), cocoa powder, sweetener, vanilla, and salt into your blender.
Blend on high for 30-60 seconds until completely smooth.
No cocoa lumps allowed—they’ll turn into weird frozen specks.
Step 3: Taste and adjust NOW
This is crucial: taste the mixture before freezing.
It should taste almost too sweet because freezing dulls sweetness by about 30%.
If it tastes perfect now, it’ll taste bland frozen.
Add more sweetener or cocoa if needed.
Step 4: Add mix-ins (optional)
If you’re adding chocolate chips or chunks, stir them in gently by hand after blending.
Don’t blend them or you’ll just get more chocolate base instead of fun textured bits.
Step 5: Fill your molds
Pour mixture into molds, leaving about ¼ inch space at the top.
Liquids expand when frozen—ignore this and you’ll have overflow mess in your freezer.
Use a pitcher with a spout or a measuring cup to avoid spills.
Step 6: Insert sticks strategically
Some molds have covers that hold sticks in place—easy.
For others, freeze for 30-45 minutes first until the mixture is slushy, then insert sticks.
They’ll stand up straight instead of falling over drunk.
Step 7: Freeze completely
Minimum 4 hours, ideally overnight.
Don’t be impatient here—partially frozen popsicles are just disappointing slush on a stick.
They should feel rock-solid when you gently squeeze the mold.
Step 8: Unmold like a pro
Run the outside of the mold under warm water for 10-15 seconds.
Don’t use hot water or leave it too long—you want to release them, not melt them.
Gently wiggle and pull.
If they’re being stubborn, another few seconds under water usually does it.
Step 9: Optional chocolate shell (game-changer)
Melt dark chocolate with coconut oil in 20-second bursts in the microwave, stirring between each burst.
The coconut oil makes it crack satisfyingly when you bite—proper magic shell texture.
Freeze your unmolded popsicles on a
This post may contain affiliate links. Please see my disclosure policy for details.