Iced Espresso Macchiato: The Only Guide You’ll Ever Need
Contents
- Iced Espresso Macchiato: The Only Guide You’ll Ever Need
- What Makes an Iced Espresso Macchiato Different?
- Equipment You Actually Need
- Ingredients (The Simple Version)
- The Method (No Fluff, Just Steps)
- Critical Tips for Success
- Storage (Spoiler: Don’t)
- Common Mistakes I See Constantly
- Flavor Variations That Actually Work
Prep Time: 2 minutes
Cook Time: 3 minutes
Total Time: 5 minutes
Servings: 1 drink
Difficulty: Beginner
Dietary Tags: Vegetarian, Vegan-Adaptable, Customizable
Making an iced espresso macchiato at home sounds intimidating, doesn’t it?
I get it. You’re staring at your kitchen counter wondering if you really need a fancy espresso machine or barista certification to pull this off.
You don’t.
I’ve made hundreds of these drinks, and I’m here to tell you the truth: an iced espresso macchiato is just cold milk, ice, espresso shots, and a dollop of foam on top. That’s it.
The whole “macchiato” thing just means “marked” or “stained” in Italian. You’re literally marking cold milk with espresso.
Let me show you exactly how to make this café favorite without the $6 price tag.
What Makes an Iced Espresso Macchiato Different?
Here’s what confuses most people.
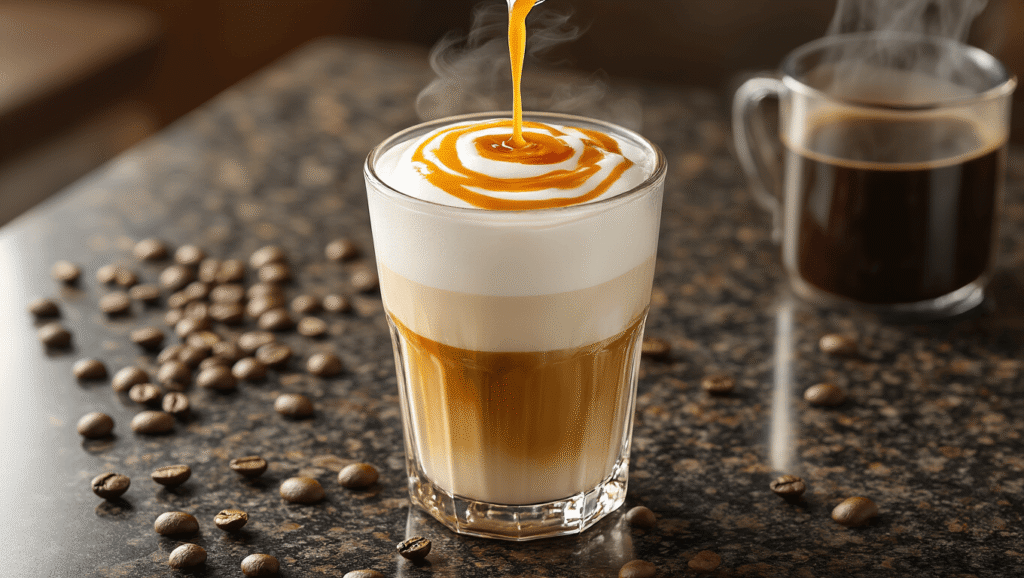
An iced latte gets milk poured into espresso. An iced espresso macchiato gets espresso poured into milk.
The order matters. It creates those gorgeous layers you see in coffee shop photos.
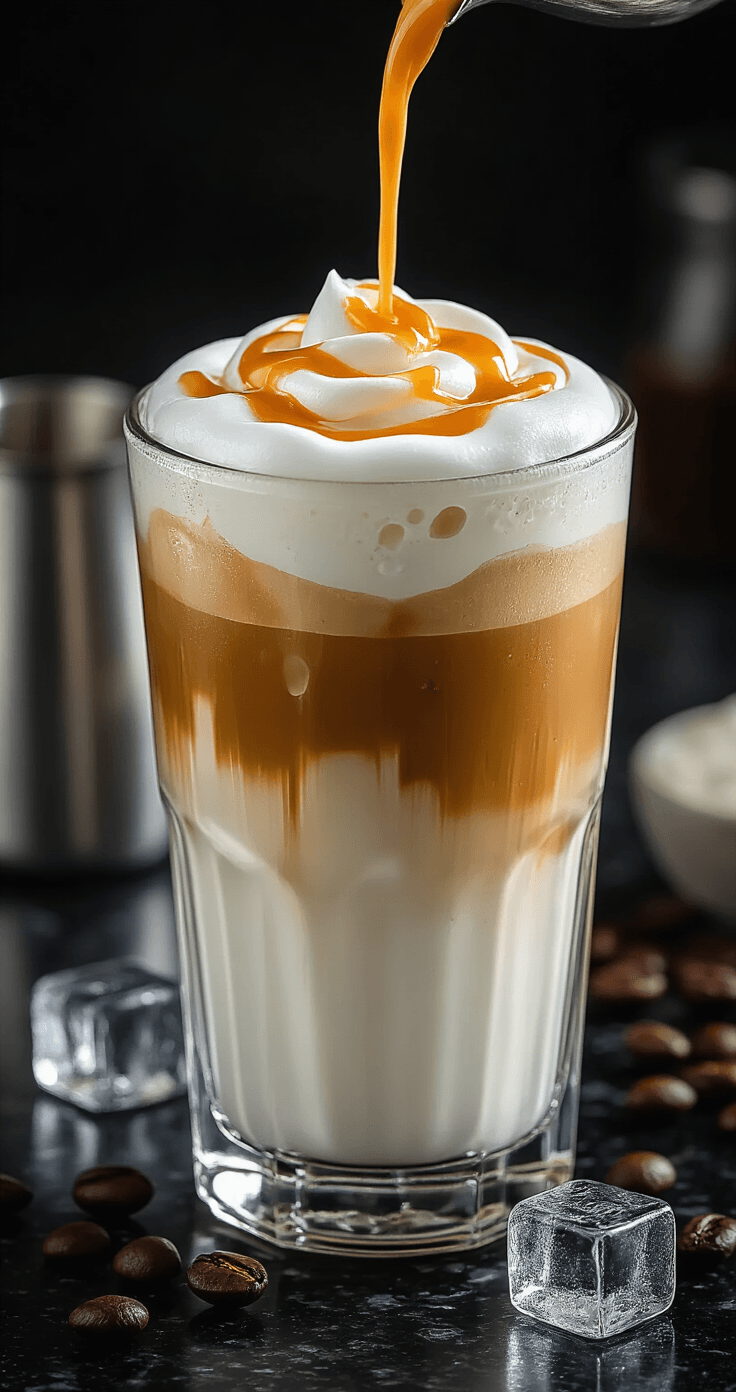
The milk stays on the bottom, espresso floats in the middle, and a spoonful of foam sits on top like a little cloud.
When you stir it together, you get a perfectly balanced coffee drink that’s stronger than a latte but smoother than straight espresso over ice.
Equipment You Actually Need
Let’s be realistic about what’s sitting in your kitchen right now.
Essential:
- A way to make espresso (machine, Moka pot, AeroPress, or even instant)
- A tall glass (12-16 oz)
- Ice cubes
- A spoon
- Something to measure with
Nice to Have:
- Milk frother (handheld ones are $15 and game-changing)
- Espresso machine (if you’re serious about this)
- Coffee ice cubes (freeze leftover coffee to prevent dilution)
Don’t Have a Frother? Pour cold milk in a mason jar, seal it tight, and shake like your life depends on it for 45 seconds. You’ll get foam. Not Instagram-perfect microfoam, but foam that tastes identical.
Ingredients (The Simple Version)
For One Drink:
- 2 shots espresso (2 oz/60ml) or 2 teaspoons instant espresso powder
- ¾ cup cold milk (6 oz/180ml) – any kind works
- 4-6 ice cubes
- Optional: 1-2 tablespoons sweetener or flavored syrup
Milk Options:
Whole milk froths best and tastes creamiest. Oat milk is the best non-dairy option for foam. Almond milk works but produces thinner foam. Coconut milk adds tropical vibes.
Use whatever’s in your fridge. I promise the coffee police won’t arrest you.
The Method (No Fluff, Just Steps)
If You Have an Espresso Machine:
- Fill your glass
Drop ice cubes in your glass. Pour in ¾ cup cold milk. Leave about an inch of space at the top. - Pull your shots
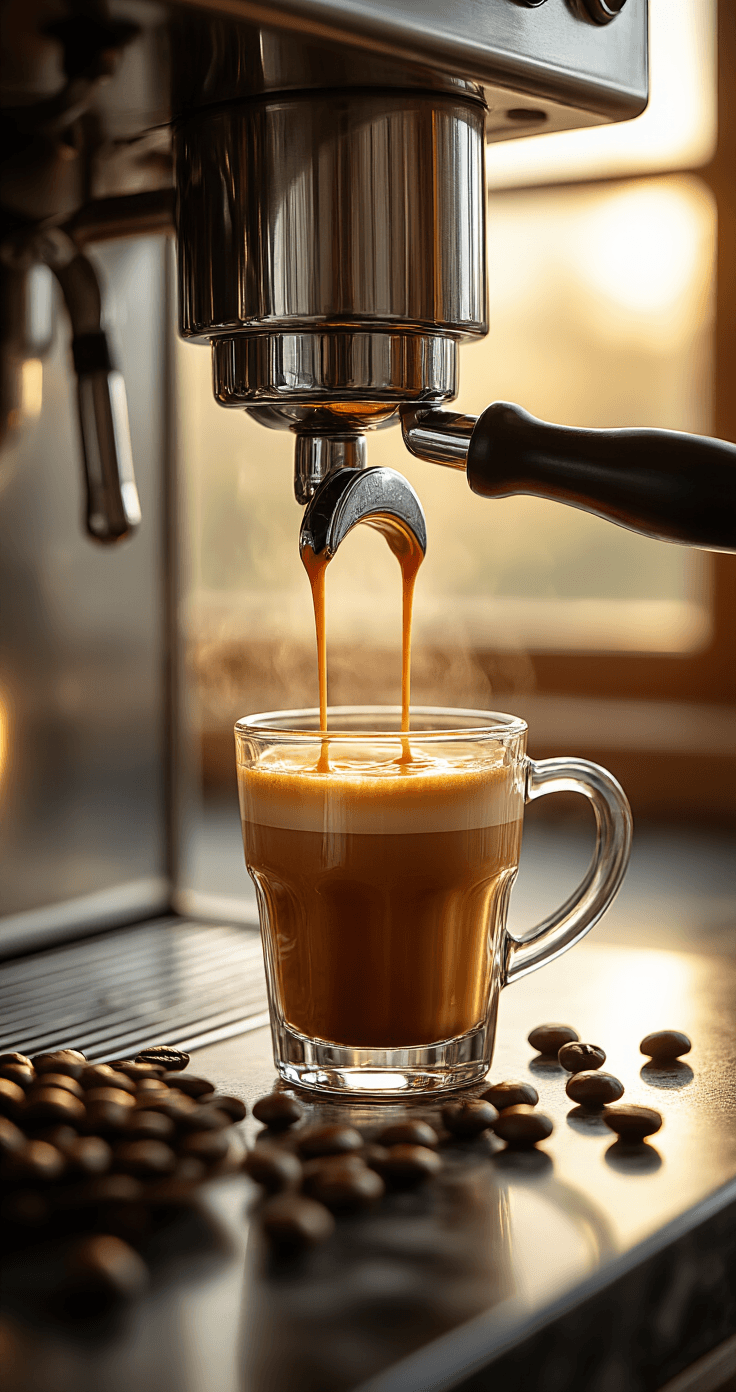
Brew 2 shots of espresso into a separate cup. You want about 25-30 seconds of brew time. Look for that gorgeous caramel-colored crema on top. - Make foam (optional but recommended)
If you’re using a handheld frother, froth about 2 tablespoons of cold milk in a small cup for 15-20 seconds.
No frother? Skip it or use the jar-shaking method. - Pour slowly
Here’s the key moment. Pour your espresso shots over the milk in a slow, steady stream. Watch those layers form. - Top with foam
Spoon your milk foam on top. That’s your “mark” – the whole point of a macchiato. - Serve immediately
Hand it to yourself with pride.
If You’re Using Instant Coffee:
- Build your base
Ice in glass. Cold milk in glass. Done. - Make your espresso substitute
Mix 2 teaspoons instant espresso powder with ¼ cup hot water. Stir until completely dissolved. Let it cool for 30 seconds. - Pour and stir
Pour the coffee mixture over your milk. Stir well.
This won’t give you the layered effect, but it’ll taste 85% as good for 10% of the effort.
Critical Tips for Success
Temperature is everything. Cold milk, hot espresso, plenty of ice. If your espresso sits too long before pouring, it loses that beautiful crema and starts tasting flat.
Pour slowly. Aggressive pouring destroys your layers and makes everything muddy brown immediately. Slow and steady wins the aesthetic race.
Fresh espresso or bust. Espresso starts degrading within 30 seconds of brewing. Don’t make your shots ahead of time.
Coffee ice cubes are a revelation. Regular ice dilutes your drink into sadness. Coffee ice keeps it strong. Pour leftover coffee into ice cube trays and freeze.
Ratio matters. Too much milk makes it a latte. Too little makes it undrinkably strong. Stick to 2 shots espresso for every 6 oz milk.
Storage (Spoiler: Don’t)
You can’t really store an iced espresso macchiato.
The ice melts. The layers disappear. The foam deflates. The espresso gets bitter.
Make it fresh or don’t make it at all.
Exception: You can prep coffee ice cubes days in advance. Keep syrups in your pantry. Store milk in the fridge like a normal person.
But the assembled drink? Drink it within 10 minutes or accept defeat.
Common Mistakes I See Constantly
- Using warm milk. Why would you do this on an iced drink? Cold milk straight from the fridge only.
- Too much ice. You’re making a coffee drink, not a snowcone. 4-6 cubes maximum.
- Cheap, old coffee. Your macchiato is only as good as your espresso. Stale beans make stale drinks. Invest in fresh coffee or good-quality instant.
- Skipping the foam. The foam is literally the defining feature of a macchiato. Without it, you’ve made an iced latte.
- Mixing it before photographing. Just kidding. Kind of.
Flavor Variations That Actually Work
Brown Sugar Macchiato
Add 1-2
This post may contain affiliate links. Please see my disclosure policy for details.