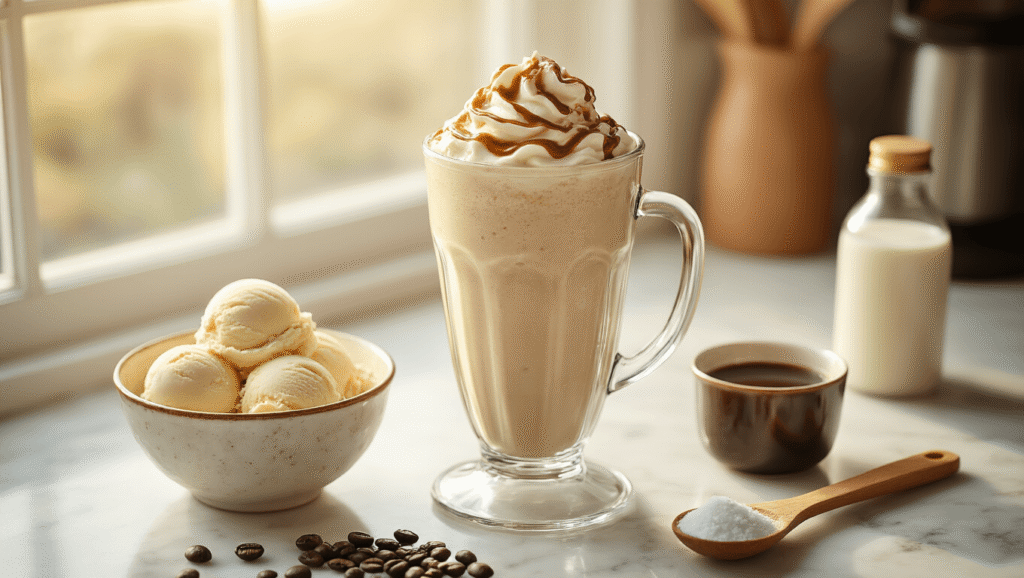
Coffee Milkshake: The 5-Minute Café Treat You Can Make at Home
Contents
Prep Time: 5 minutes
Cook Time: 0 minutes
Total Time: 5 minutes
Servings: 2 generous servings
Difficulty Level: Beginner
Dietary Tags: Vegetarian, Can be made vegan, Can be made dairy-free
A coffee milkshake is that perfect collision of dessert and caffeine fix that hits differently at 2 PM on a Tuesday.
I’ve made approximately 847 of these (conservative estimate), and I’m telling you this is the kind of recipe that makes you wonder why you’ve been paying $8 at coffee shops.
This isn’t rocket science. It’s literally coffee, ice cream, and milk whipped into something ridiculous.
But here’s the thing—most people absolutely butcher it. They end up with either coffee-flavored soup or chunks of ice cream floating in sad brown milk.
Let me show you how to nail it every single time.
What You’ll Need (Equipment)
Essential:
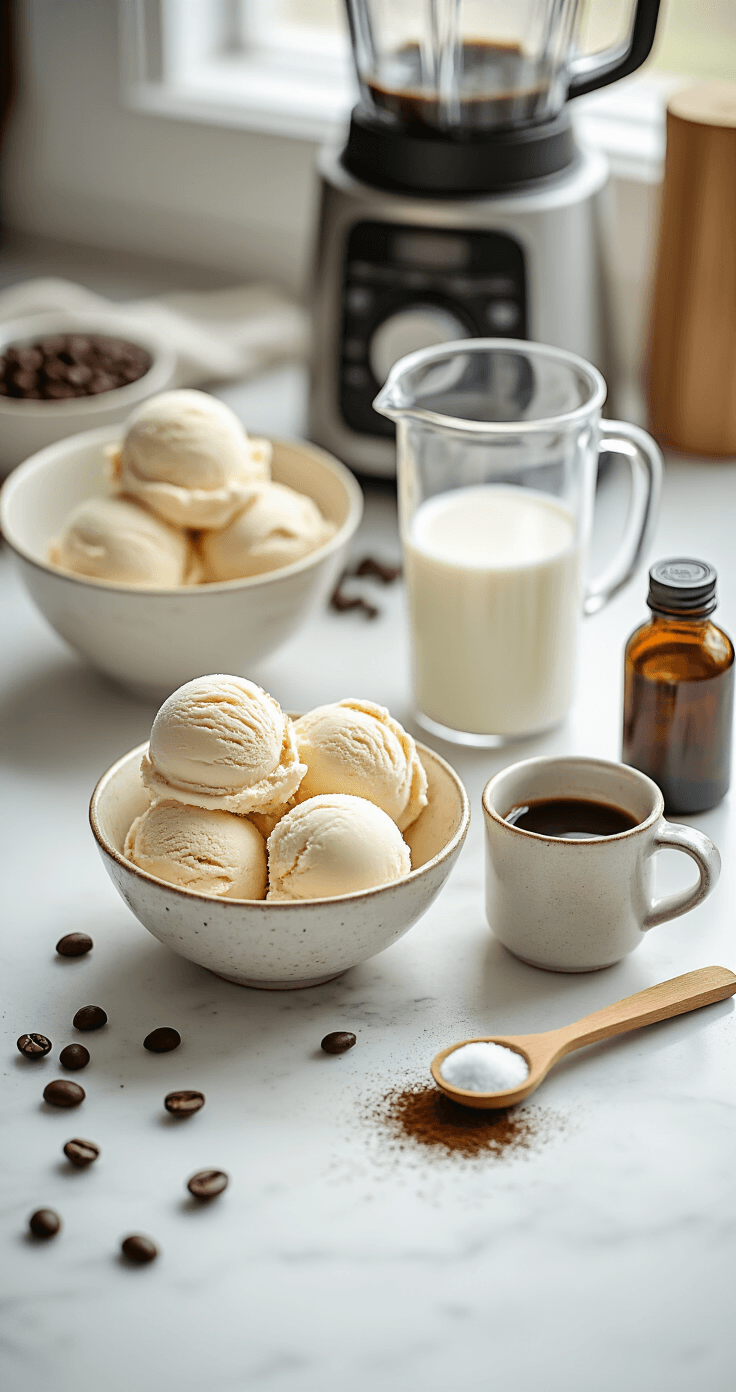
- A decent blender (doesn’t need to be fancy)
- Measuring cups and spoons
- Tall glass
- Something to stir with
If You Don’t Have a Blender:
Grab a mason jar with a tight lid. Let your ice cream soften for 10 minutes. Add everything. Shake like your life depends on it for 2-3 minutes. Done.
Your arm will hate you, but it works.
Ingredients (The Simple Version)
For the Base:
- 1.5 cups (3 scoops) vanilla ice cream, slightly softened
- ½ cup whole milk (120ml)
- 1 tablespoon instant coffee powder
- 2 tablespoons warm water
- 1-2 tablespoons sugar (optional—depends on your sweet tooth)
- ½ teaspoon vanilla extract
For Topping:
- Whipped cream
- Cocoa powder or instant coffee for dusting
- Chocolate shavings (if you’re feeling fancy)
Substitutions That Actually Work:
- Swap whole milk for oat milk, almond milk, or coconut milk
- Use coffee ice cream instead of vanilla (double coffee hit)
- Replace instant coffee with ⅔ cup cold brewed coffee (skip the water)
- Make it vegan with coconut-based ice cream and plant milk
The Method (Where Magic Happens)
Step 1: Wake Up Your Coffee
Mix that instant coffee powder with warm water in a small cup. Stir until it completely dissolves. No lumps. No grainy bits.
Let it sit for 2 minutes to cool down—hot coffee + ice cream = disaster soup.
Step 2: Pull Your Ice Cream
Take your ice cream out of the freezer. Let it sit on the counter for 5-10 minutes.
This is crucial. Rock-hard ice cream will destroy your blender or give you ice chunks. You want it soft enough to scoop easily but not melting.
Step 3: Build Your Shake
Pour milk into the blender first. Add your cooled coffee mixture. Drop in the slightly softened ice cream. Add sugar if you want it sweeter. Splash in that vanilla extract.
Order matters here. Liquid first prevents the blades from jamming on frozen ice cream.
Step 4: Blend Like You Mean It
Start on low speed for 15 seconds. Bump it to medium for another 20 seconds. Crank it to high for 30-45 seconds.
You’re looking for:
- Completely smooth texture
- No visible ice cream chunks
- Thick but pourable consistency
- A slight foam on top
If it’s too thick, add milk 1 tablespoon at a time. If it’s too thin, toss in another scoop of ice cream.
Step 5: Serve Before It Betrays You
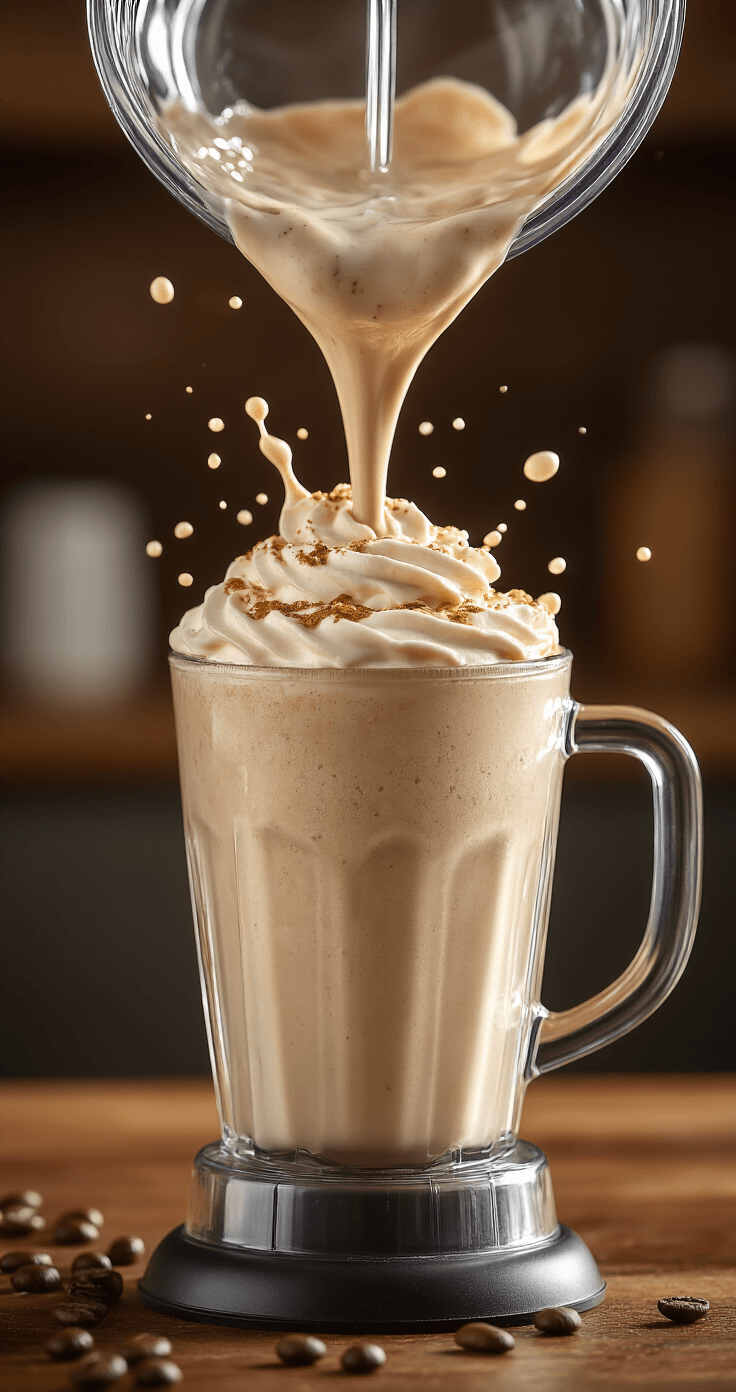
Pour immediately into a chilled glass. Top with whipped cream. Dust with cocoa powder or instant coffee. Add chocolate shavings if you’re not a coward.
Drink it within 5-10 minutes. After that, physics takes over and you’re drinking coffee-flavored milk.
The Non-Negotiable Tips
Listen, I’ve screwed this up enough times to know what actually matters:
Never use hot coffee. I don’t care how rushed you are. Hot coffee melts ice cream instantly and you get a weird separated mess. Cool your coffee first or use cold brew.
Soften your ice cream. This is the hill I’ll die on. Rock-hard ice cream = chunky shake or broken blender. Give it 10 minutes on the counter.
Don’t over-blend. Once it’s smooth, stop. Over-blending warms everything up and makes it thin. You want thick and creamy, not a coffee-flavored beverage.
Chill your glass. Toss it in the freezer for 10 minutes before serving. Warm glass = fast-melting shake = sadness.
Use quality instant coffee. Cheap instant coffee tastes like regret. Get something decent. Your shake will taste like coffee instead of burnt sadness.
Storage (Because Life Happens)
Real talk: Milkshakes don’t store well. They’re meant to be consumed immediately.
But if you must:
Fridge: Pour into an airtight container. It’ll last 4 hours but will separate. Re-blend before drinking. It won’t be the same, but it’s drinkable.
Freezer: Pour into popsicle molds for coffee ice pops. Or freeze in a shallow container for 1-2 hours for a slushie texture. Don’t freeze it solid or you’re making coffee ice cream, which… actually sounds good too.
Pre-made coffee base: Mix your coffee concentrate ahead of time. Store in the fridge for up to 5 days. When you want a shake, just blend with ice cream and milk.
Scaling This Thing
Single serving (because you’re alone and that’s fine):
- ½ cup ice cream
- ¼ cup milk
- ½ tablespoon instant coffee + 1 tablespoon water
- Blend for 45 seconds
Party mode (4-6 people):
- 4 cups ice cream
- 1.5 cups milk
- 3 tablespoons instant coffee + 6 tablespoons water
- Blend in 2 batches (your blender will thank you)
The coffee flavor gets more intense when you scale up. Add slightly more milk to balance it out.
When Things Go Wrong
It’s too watery: Your ice cream melted too much or you added too
This post may contain affiliate links. Please see my disclosure policy for details.