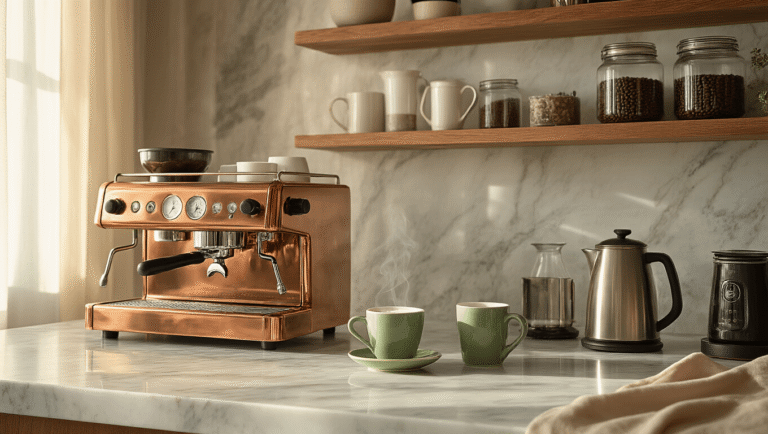
Pick the Right Spot First — Everything Else Follows
Contents
The biggest mistake people make is just plopping their coffee maker wherever there’s space.
That usually means it ends up next to the stove, or crammed into a corner that’s impossible to access when someone’s cooking dinner.
You want a spot that’s easy to reach in the morning but out of the way of the main cooking zone.
Here are the best locations to consider:
- A corner of the countertop away from the stove and sink
- An alcove or niche with wall space or shelves above
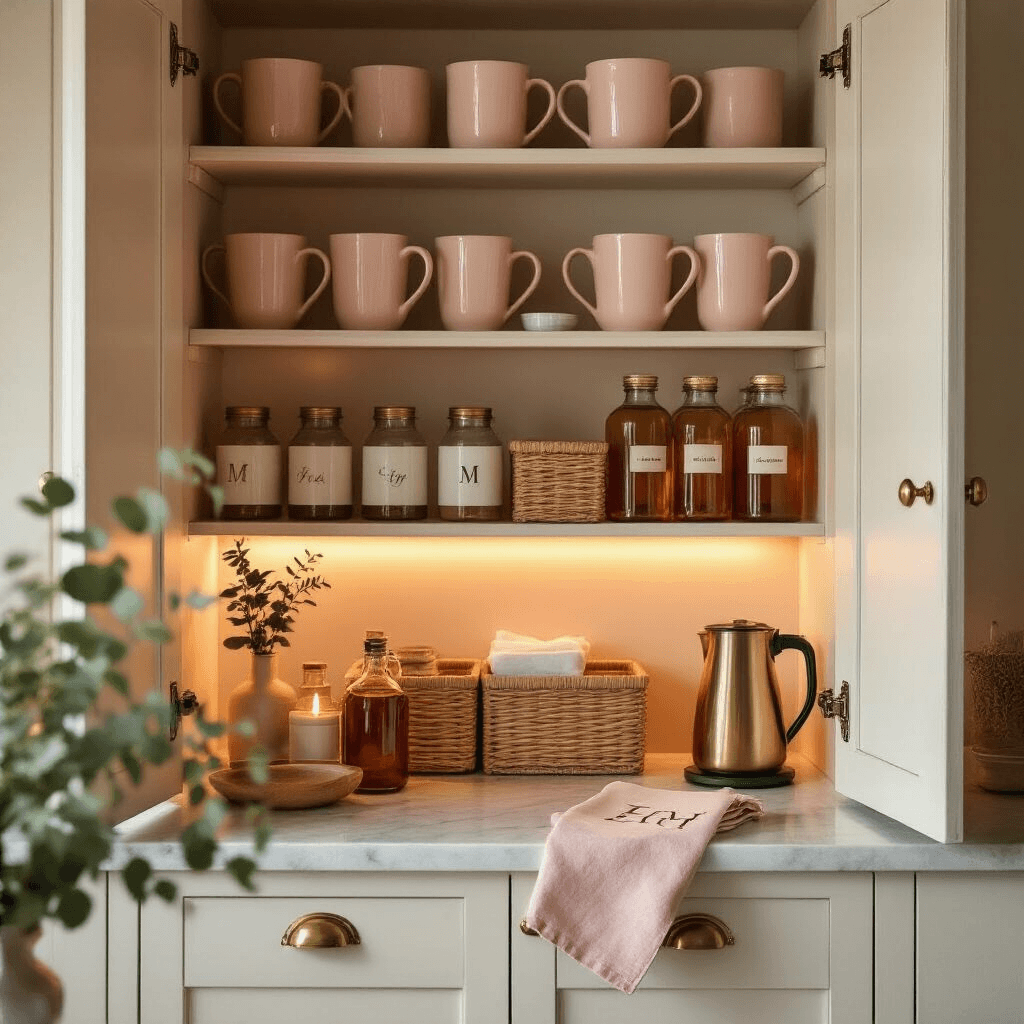
- Inside a cabinet or larder that opens up to reveal a full station — this one looks stunning when done right
- A breakfast bar or peninsula — especially great if you want that real café-at-home feel with a couple of stools
- A butler’s pantry or scullery if you’re lucky enough to have one just off the main kitchen
Once you’ve got a spot in mind, run through this quick checklist before committing:
- ✅ Is there an electrical outlet close by for your machine?
- ✅ Is there enough counter depth for your coffee maker plus a small amount of prep space?
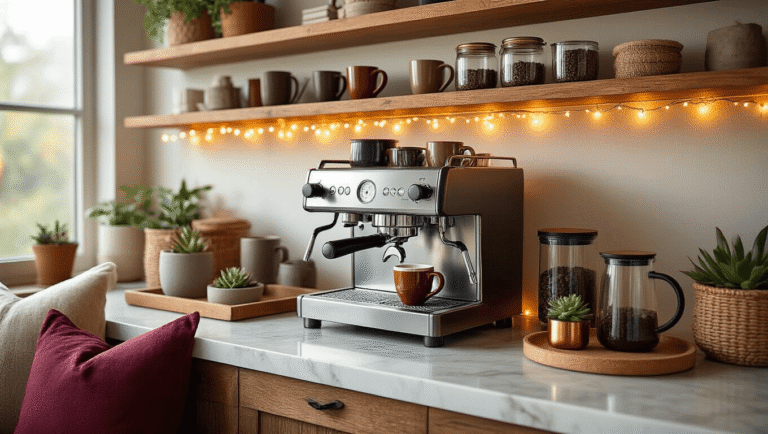
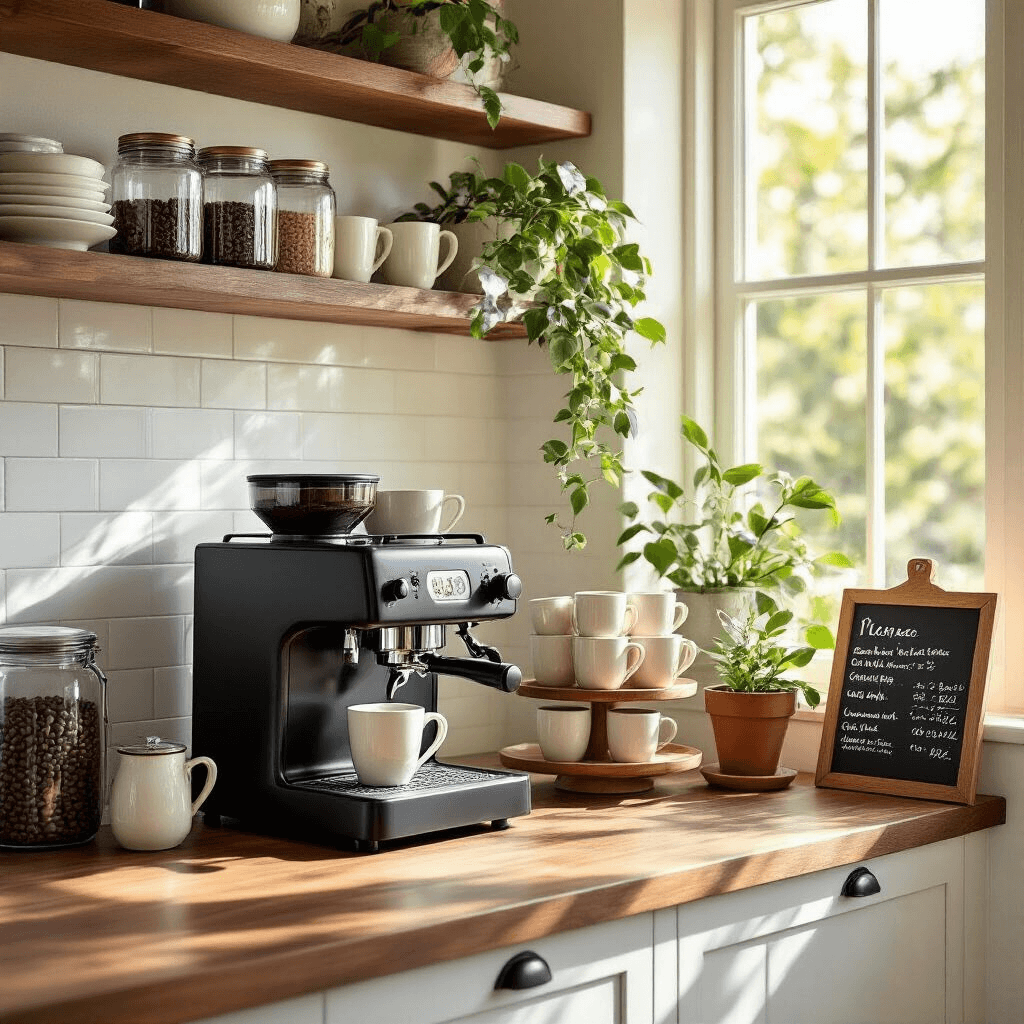
- ✅ Is the lighting decent? Natural light is ideal, but under-cabinet LED lighting works beautifully and makes the whole setup feel more intentional.
If you can check all three boxes, you’ve found your spot.
Start With Function, Then Add the Pretty Stuff
I know it’s tempting to go straight to Pinterest and start planning the aesthetic.
But if the setup doesn’t actually work, it won’t stay tidy for long.
Here’s what you actually need on that counter:
The non-negotiables:
- Your coffee maker or espresso machine (and a kettle if you’re a tea drinker too)
- A coffee grinder if you use whole beans — this is worth it, by the way
- Mugs and to-go cups within easy reach
- Canisters or containers for beans, pods, sugar, or tea
- Spoons, filters, and a small stack of napkins
The nice-to-have extras (that make it feel genuinely luxurious):
- A milk frother — even a cheap handheld one transforms your home coffee game
- Syrups and flavored toppings stored in pretty bottles or small jars
- A small trash can or grounds bin nearby so cleanup takes two seconds
- A mini fridge for milk and cream if your coffee bar is away from the main fridge
Getting these items sorted first gives you a clear picture of how much space you actually need — and what storage to build around them.
Get the Storage Right and You’ll Never Have a Cluttered Coffee Bar
Organization is honestly the secret weapon here.
The goal is simple: everything you need should live in one zone.
No more running to three different cabinets to make one cup of coffee.
Here’s how to pull that off:
Use vertical space smartly:
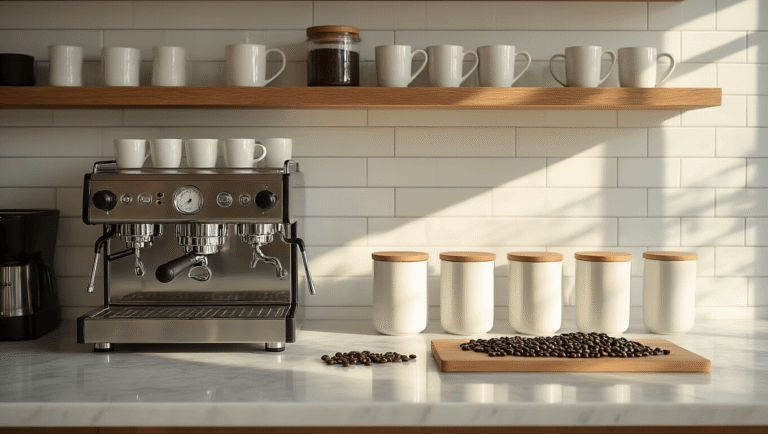
- Open shelves or upper cabinets above the counter are perfect for mugs and canisters
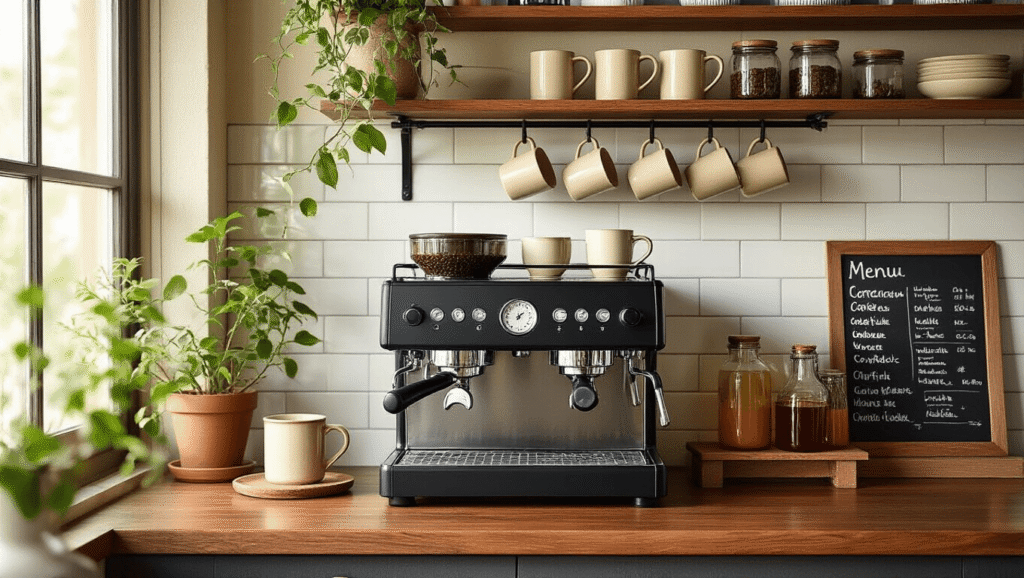
- Wall-mounted rails with hooks underneath a shelf are great for hanging mugs — it looks intentional and frees up counter space
Mix closed and open storage:
- Keep the pretty things visible — nice mugs, glass jars, a plant
- Tuck the less-attractive stuff (extra filters, backup pods, sugar packets) inside a cabinet, drawer, or a lidded basket
Use trays and risers to create levels:
- A wooden riser or shelf organizer at the back of your counter elevates syrups or decorative items
- A tray in the front groups mugs and small items together so the whole thing looks curated rather than scattered
- A lazy susan is brilliant for pods or canisters — you can spin it to grab what you need without moving everything around
Keep like items together:
- All coffee pods in one small bin
- All tea bags in another
- Label any opaque baskets so guests (or half-asleep morning versions of yourself) can find things instantly
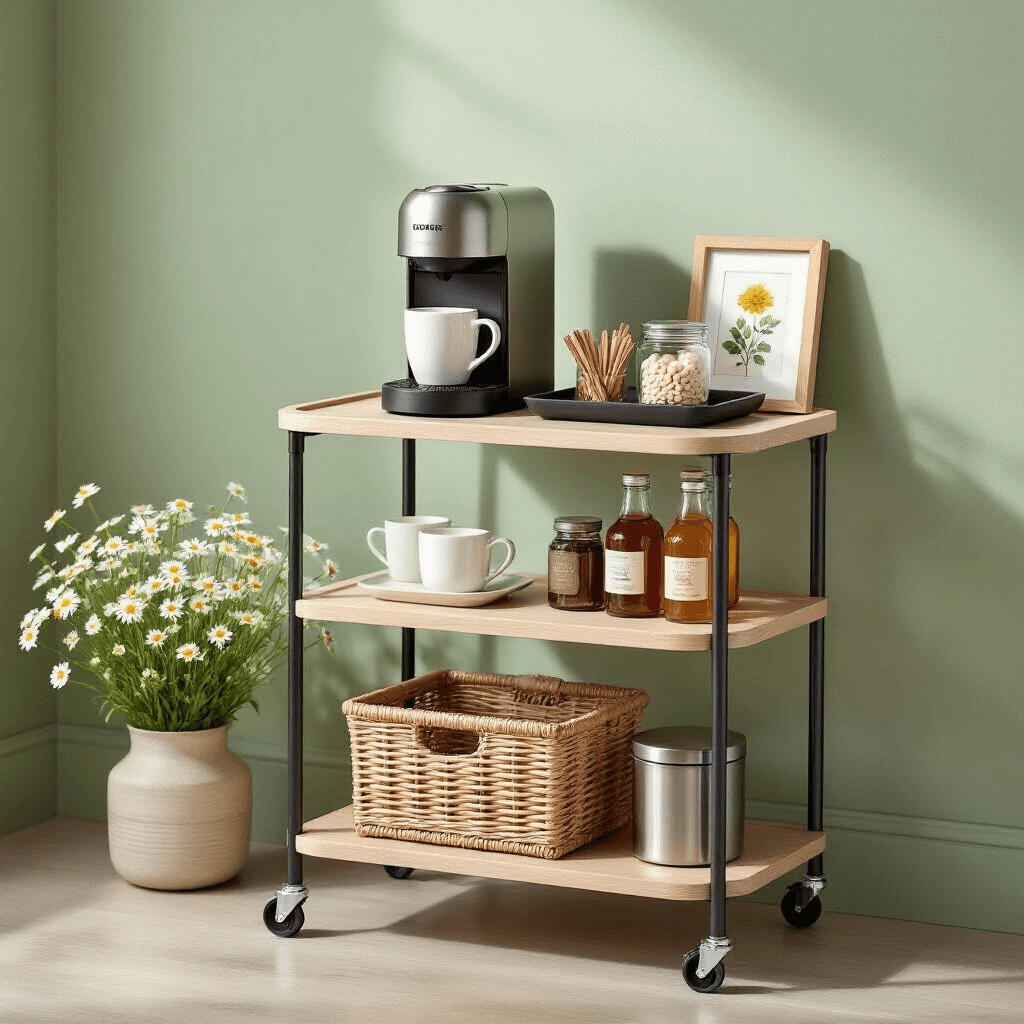
Here’s How You Make It Look Like a Real Coffee Bar and Not Just a Counter With a Machine On It
This is the fun part.
A few styling moves are all it takes to go from “random appliances sitting on a counter” to “wow, did you design that yourself?”
Create a backdrop:
A small piece of art, a chalkboard “menu,” or even a simple wood sign leaned against the wall instantly gives the space a focal point. You’d be amazed at how much this one trick does.
Layer your items for depth:
Lean a cutting board or a decorative tray against the wall first. Then style your mugs and canisters in front of it. That slight layering effect makes everything look intentional and styled rather than just placed.
Add one living element:
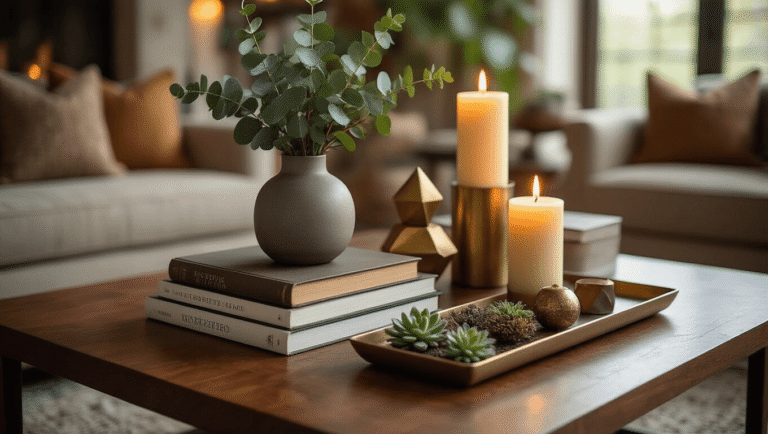
A small plant, a little vase with fresh flowers, or even seasonal decor — mini pumpkins in fall, a sprig of eucalyptus any time of year — adds warmth and life to the setup. It makes the whole thing feel less like a corner of your kitchen and more like a spot you actually want to spend time at.
Stick to 2–3 colors:
Look at your kitchen and pick up on its existing palette. For example: a black espresso machine, a warm wood tray, and white mugs is a classic combination that looks clean and cohesive. Bringing in too many colors is usually what makes a coffee bar look cluttered.
This post may contain affiliate links. Please see my disclosure policy for details.